 Discord
How to Self-Host Stormkit on Hetzner Cloud
Apr 24, 2025
This tutorial guides you through the process of self-hosting Stormkit on Hetzner Cloud.
Steps:
1. Create an Account on Hetzner
- Sign up for a Hetzner Cloud account using this link.
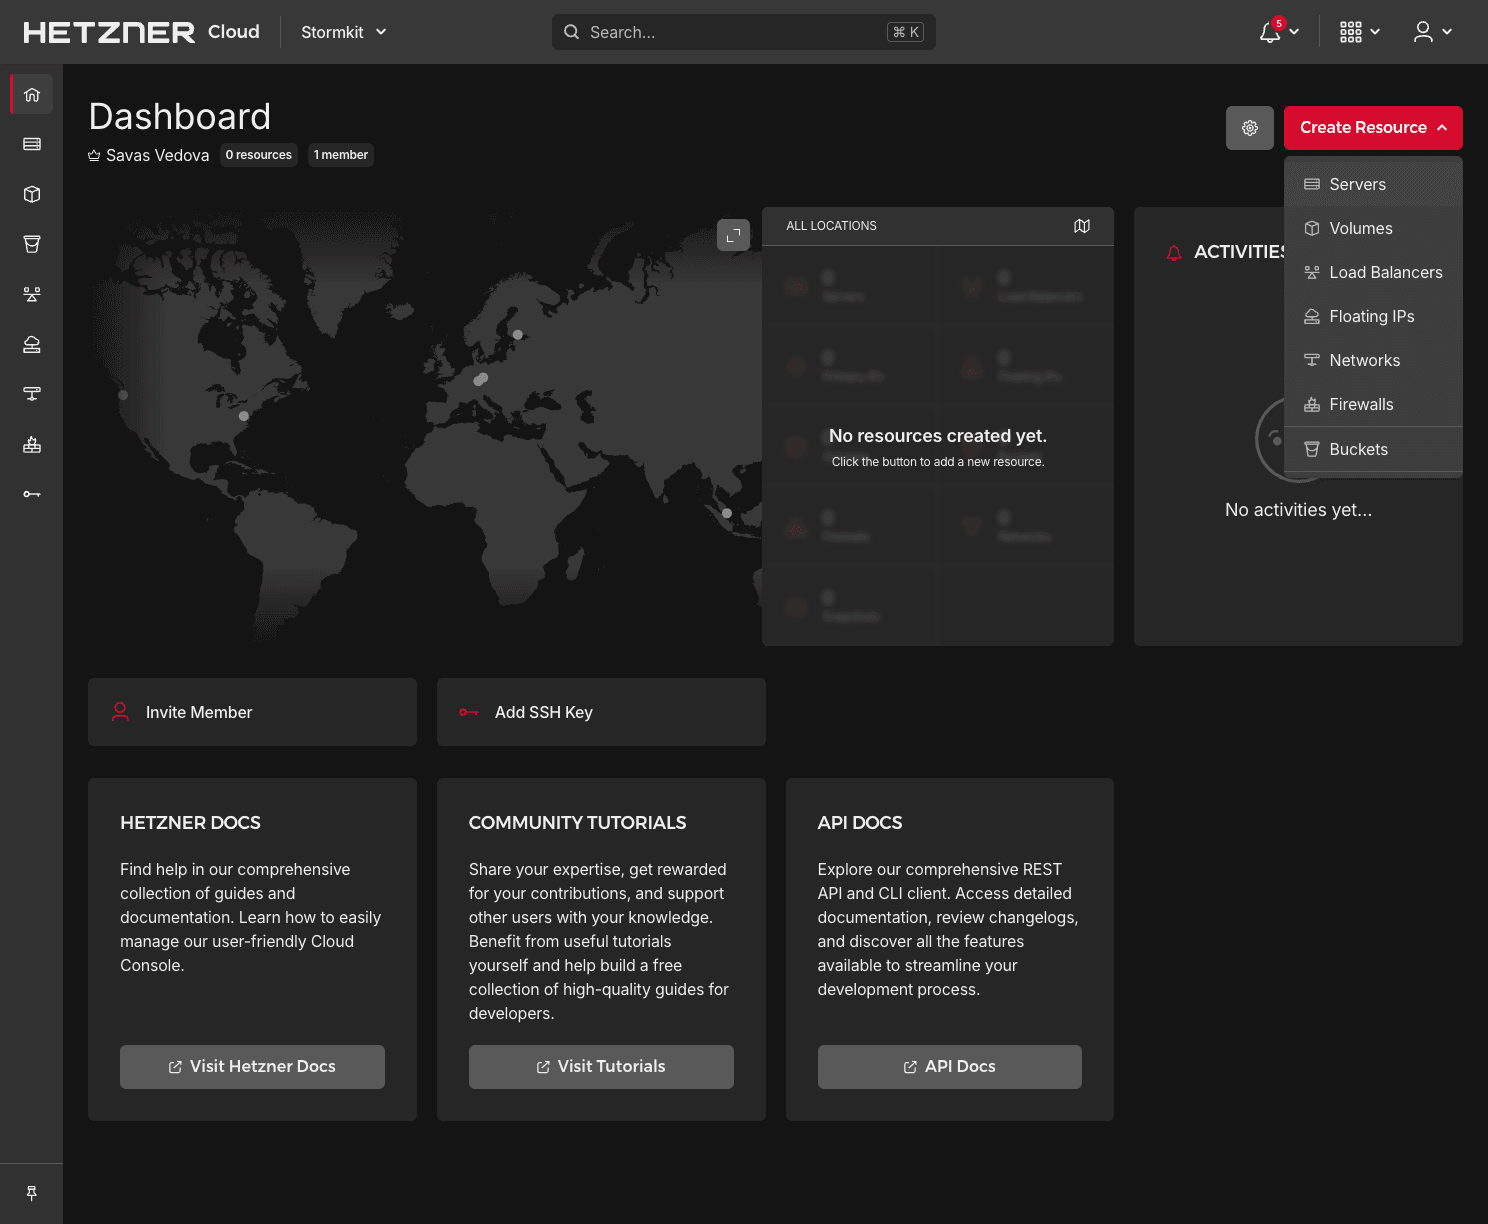
2. Create a New Project
- Once logged in, click on + New Project in the Hetzner Cloud Console.
- Name the project Stormkit and confirm to create it.
3. Create a Server
- Click on the newly created Stormkit project to visit its Dashboard.
- In the Dashboard, open the Create Resource dropdown and select Servers.
- Select the server location closest to you for optimal performance.
- Choose Ubuntu 24.04 as the operating system for your server.
- Under server types, select Shared vCPU x86 (Intel/AMD) to expand the server list, then choose CX22.
- Scroll down to the SSH keys section, click on +Add SSH Key, and add your public SSH key for secure access.
4. Access the Server
- Once the server is ready, copy the public IP address provided by Hetzner.
- SSH into the server using the command:
ssh root@<your-ip>
5.Install Stormkit
- Run the following command to install Stormkit on your server:
curl -sSL https://www.stormkit.io/install.sh | sh
- During the installation process, choose Docker Compose as the installation method.
- Proceed with the installation by leaving the remaining fields empty (default settings).
- Once the installation is complete, visit your website printed in the terminal.
- Sign up for a Stormkit account on your newly hosted instance, and you’re ready to start using Stormkit!
Now you have successfully self-hosted Stormkit on Hetzner Cloud. Enjoy building and deploying your applications!
2026 Stormkit OÜ ©